Hey my lovelies,
As most of you may or may not know I completed a self-imposed 30 Day Makeup Challenge last year so I decided it was high time I did another one. After much thought I decided to make one not based solely on makeup looks but about beauty in general as well. I dont know if any of you have partaken in a 30 day beauty/makeup challenge but I actually find them to be tricky… especially seeing as I work in an office for the majorty of my day I have to somehow make it “work appropriate”. Anyway without any further delay please find the whole 30 Days of Beauty Challenge by yours truely…
~ THE CHALLENGE ~

~ DAY 1 ~
…No makeup, makeup…
This is would have to be my go to makeup look. This is the look I usually wear on weekends if I have nothing really that special on but I might be out to lunch with a friend or just running errands 🙂 Its super easy, fresh and light on the skin. Products used are as follows:
- Embryolisse Lait Creme
- Tony Moly Egg Pore Silky Smooth Balm
- Garnier BB Cream Oil Free
- Bobbi Brown Corrector in Light to Medium Peach
- Nars Radiant Creamy Concealer
- Chanel Natural Finish Loose Powder
- The Balm Hot Mama Blush
- MAC’s MSF in Soft and Gentle
- Eye of Horus Goddess Mascara

~ DAY 2 ~
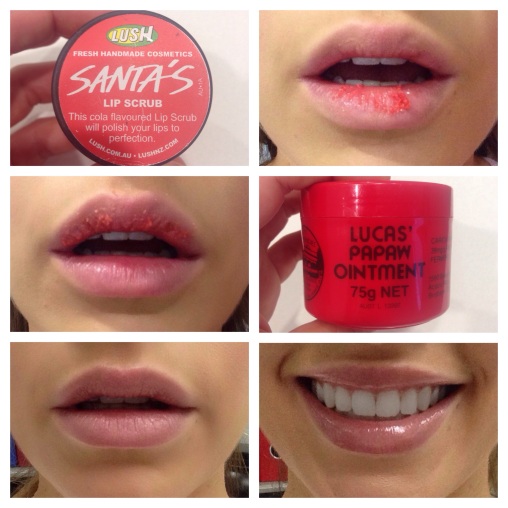
…Lip Cocktail…
If you’re coming into winter, or maybe you’re like me & are just prone to dry lips you find yourself always reaching for your pawpaw or chapstick… well here is my cocktail for, dare I say it – more kissable lips?
1. Firstly you will need to start with a lip scrub (anyone will do) – the one I am using here is my Santas Lip Scrub by Lush (limited edition for Xmas but they have other delicious flavours such as bubblegum). Take a tiny bit & place on your lips & scrub scrub scub. The best part about this scrub is it’s made up of all natural ingredients & you can just lick it off when you’re done – yup thats right ladies/gents it’s edible :O – and delicious 🙂
2. Once you’ve scrubbed your top & bottom lip apply some moisturizing lip balm (again any one will do) – I like to use Lucas Papaw Ointment (it’s da bom). Apply a generous layer & let it sink in so your lips are fully moisturized
3. After the balm has sunk in, apply your chosen lipstick – here I am using Rouge Allure in number 88 by Chanel. 4. To finish it off I’ve applied a nude lip gloss by Bobbi Brown in the colour Buff 4 over the top.
So there you have it, fresh and ready to do some kissin’ haha!
~ DAY 3 ~
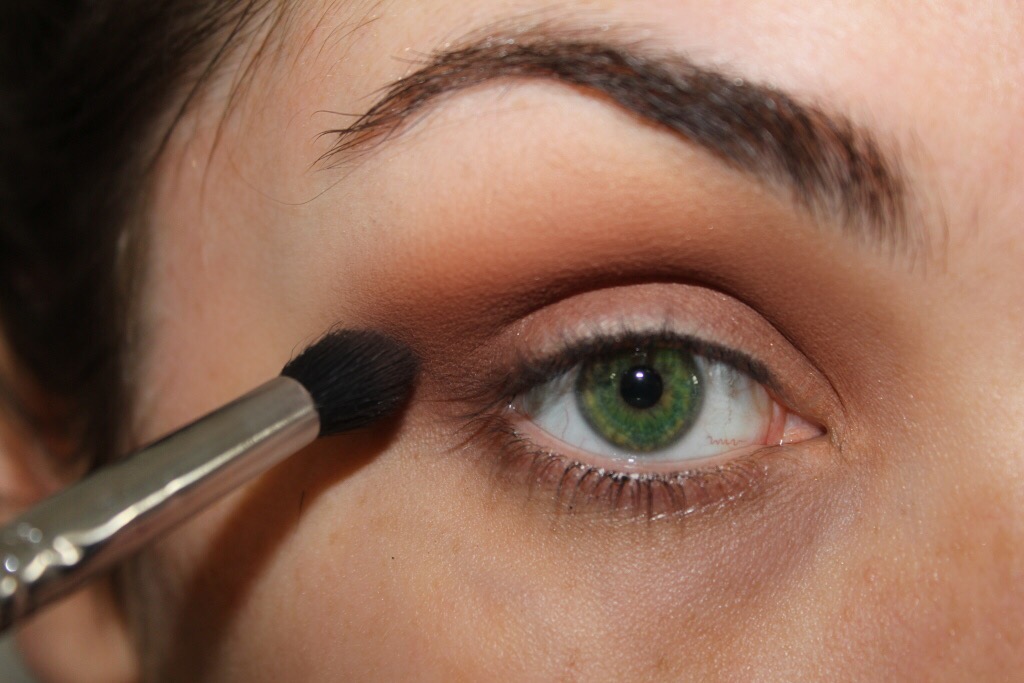
… Victoria’s Secret Bombshell…
By no means do I even compare to the Victoria’s Secret beauties – but I thought I would attempt to give their stunning effortless makeup look a go. They are always so glowy and fresh – with an oh so subtle slight smoked out eye… Products are below:

~ DAY 4 ~
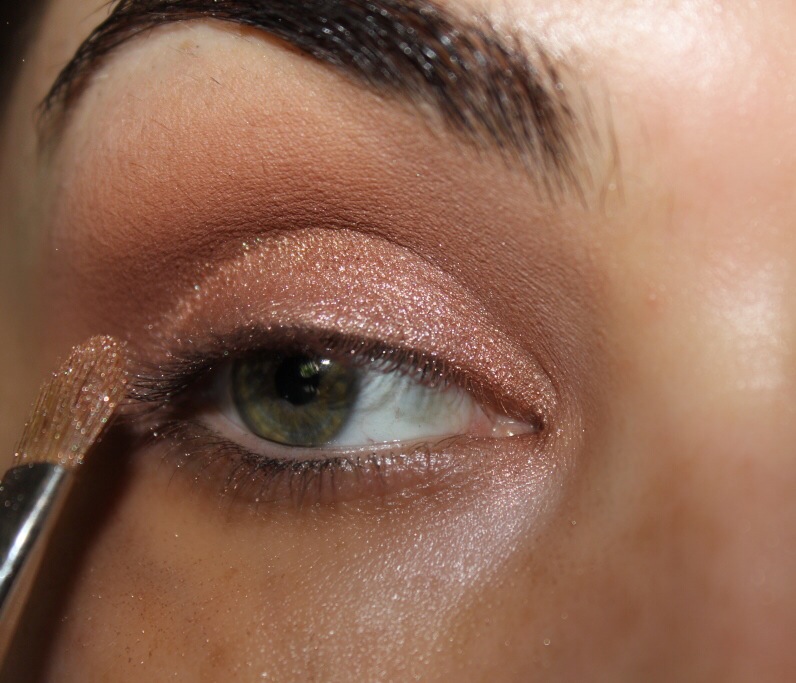
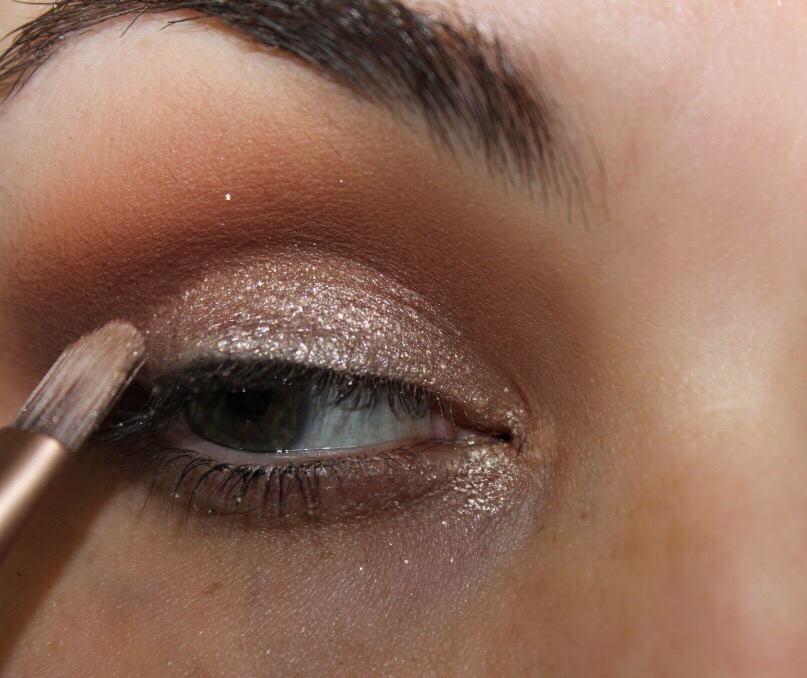
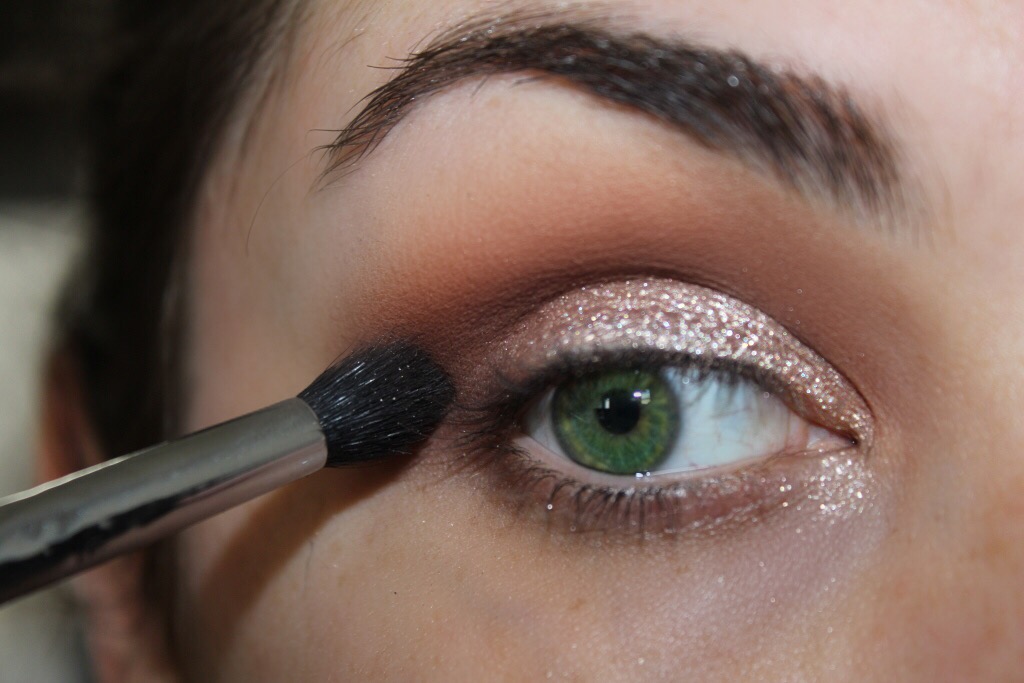
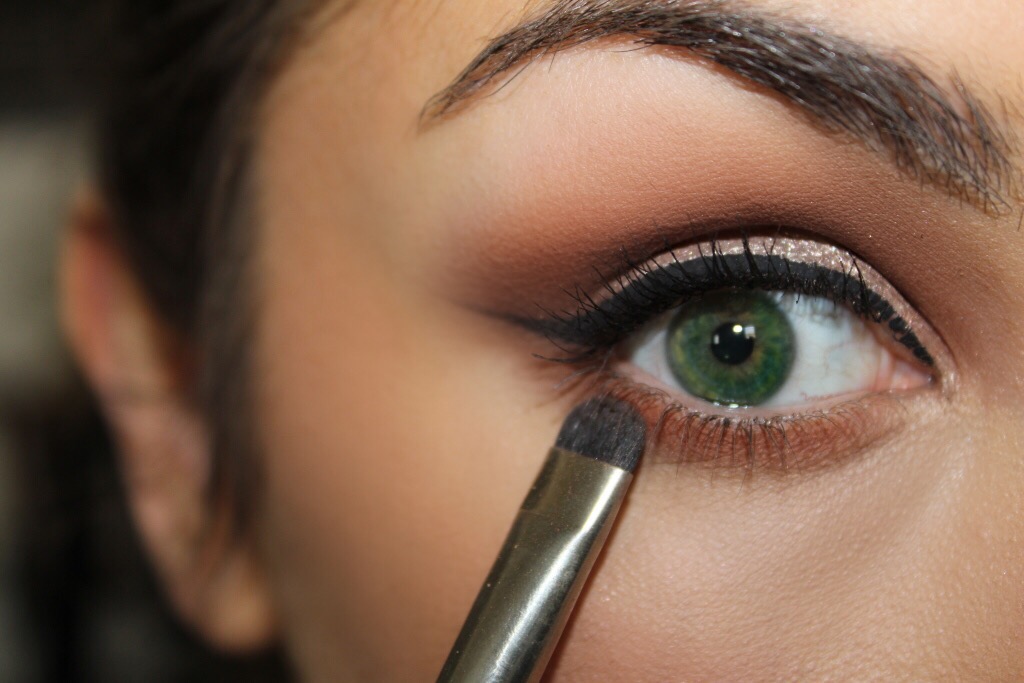
…Evening Look…
This is just a fun look that I actually normally would wear out at night – or even for something bold during the day. It features one of my most FAVOURITE brands – Makeup Geek and their pigment Utopia. I actually posted a little video on my instagram of how I did this look if you want to go check it out 🙂 A List of products used is below:

~ DAY 5 ~
…Lashes…
I firmly believe that, like a great pair of shoes complete an outfit – lashes do the same for your makeup. I love them all – from the subtle to the not so subtle… They can really help open up the eye and add a dramatic flair. The pair I am wearing in the picture below are one of my favourite dramatic lashes by Velour Lashes in the style “Doll Me Up”

~ DAY 6 ~
… Favourite Body Products (top 5)…
Here are my top 5, can’t live without, body products… Clockwise from L-R:
- Kerastase Réflection Masque Chroma Captive – this conditioner is AMAAAAAZING. I use this on mainly the ends of my hair as they’re dyed so need a little extra love – I leave it in for approx. 5mins & wash it out – result: super soft hair!!
- Clarisonic Mia 2 – this is my true skin savior… I’ll admit I bought this on a bit of a whim – but I have not looked back. It helps ensure my face is 100% clean, improved the overall elasticity of my skin & the way it absorbes moisturiser
- Clinique Skin Sparkle Exfoliant – this is the best I’ve ever used. It does an amazing job of helping leave my skin smooth like a babies bottom but it also contains salicylic acid & menthol which help leave the skin feeling smooth & refreshed not tight & dry like a lot of exfoliants do
- Michael Todd True Organics – Tropical Fruit exfoliant – I use this is on my face & I love that it’s made out of all natural ingredients is perfect for my sensitive skin
- Kerastase Bain Elixir Ultime shampoo – I love how this leaves my hair soft but not flat plus it smells divine!

~ DAY 7 ~
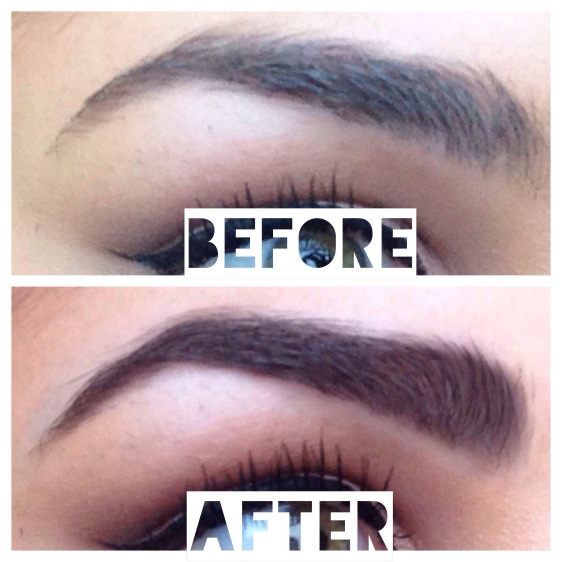
…Eyebrows…
I have pretty full brows as it is – but in my opinion that’s even more of a reason to maintain them. In order to get the shape I want I get them threaded at the brow spa in David Jones (Elizabeth Street Store) then taking my Brow Powder Duo in Medium by Sigma and my no.12 large synthetic duo brush Anastasia Beverly Hills I concentrate on filling in the beginning and the end of my brow then taking my Clear Brow Gel by Anastasia Beverly Hills I set it all in place. I usually only do this if I’m going out at night and want a more dramatic look.
~ DAY8 ~
…Drugstore Makeup Look…
This look is for those of you who are might just be beginning with makeup, or are on a budget or just don’t want to spend a lot on cosmetics… all products purchased from Priceline:

~ DAY 9 ~
…Fave Makeup Products…
These are a few of my all time favourite products that I find myself reaching for time and time again – and each time I use them I remember why I fell I love with them…
1. Strobe Cream by MAC Cosmetics- this is hands down the best illuminating cream I’ve used so far. It smells great and really helps my skin glow

2. Radiance Gel Bronzer by Chantecaille – as I’ve got dry skin I prefer this to using powders as it blends super easy & helps give my skin a more natural sun kissed glow.

3. Glam Eyes Liquid Liner by Rimmel – this in my opinion the easiest liquid liner to use, super pigmented and it’s affordable!

4. Sheer Glow Foundation by NARS – this is a gorgeous full coverage foundation but still helps give a natural finish. A little goes a long way.

5. My own personalised neutrals palette of Makeup Geek eyeshadows. These shadows are seriously amazing – high quality, super pigmented and completely affordable!

6. Melon Pigment by MAC Cosmetics – this is my go to colour for summer – it’s stunning and pairs beautifully with reddish brown shadows – really makes green eyes pop!

7. Naked Pigment by MAC Cometics – this is beautiful natural pigment that you could even use as a highlight on your cheekbones

~ DAY 10 ~
…Bridal…
Here is a shot of my gorgeous friend Alex, I did the makeup for her wedding – she wanted very sheer, minimal makeup. I was lucky in that she had taken my advice from the trial we did & really worked on rehydrating her skin & looking after it. As you can see the end result was flawless. Products are as follows:

Alex’s Photographs were taken by Lovelight Photography
Stay tuned for Part 2 later in the week…
Till next time xoxo


 While its not an overly complicated look, i think it has great impact mainly because of the gorgeous feature shade – I Heart This by ColourPop. So have a look and let me know what you think or if you give this a try at home.