Hey peeps!
Hope you’ve all been well and enjoyed your weekends 🙂 Its been quite some time since I’ve posted anything but I’ve just been so busy… But I’m back now and look forward to more regular updates and posts 🙂
So, today I wanted to talk a little bit about Fancy Dress…. I don’t know about you guys but when I hear a party is fancy dress I can’t help but shudder a little. It’s not that I don’t like to dress up, have fun and be silly, but to be perfectly honest the majority of the time I cant be bothered to source an outfit. I also don’t really want to go out and buy something new and I’m sure as hell not creative enough to sew anything (I actually once sewed my shirt to my tablecloth… yup true story).
What I like to do is find a way to interpret the theme that best suits me 🙂 Then I delve into my makeup kit and see what I can come up with… Here are two examples of recent fancy dress parties I went to where I chose my makeup to be my costume.
~ Christmas in July ~
A friend of mine had for his 30th Birthday a Christmas in July theme – very appropriate seeing as his birthday was in July 🙂 Most people came to the party in outrageously bad and funny Christmas jumpers, some people came as cold/snow inspired outfits which were all great, but I wanted to take it a step further so I decided to paint my face up like one of Santa’s Reindeer’s.
This look was surprisingly easy to create…. scroll down for the steps on how to get this look.


… Step 1 …
Prime the face with moisturizer and let that sink in. Once that has sunk in I applied a light coverage foundation just on the bottom half of my face – for this I used Makeup Forever’s HD foundation. I then set it with a translucent powder.
… Step 2 …
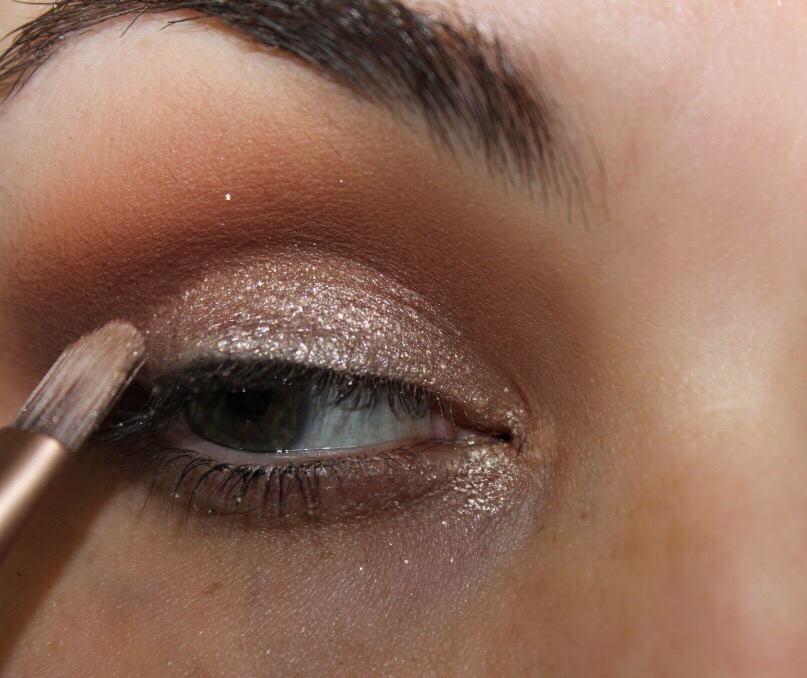
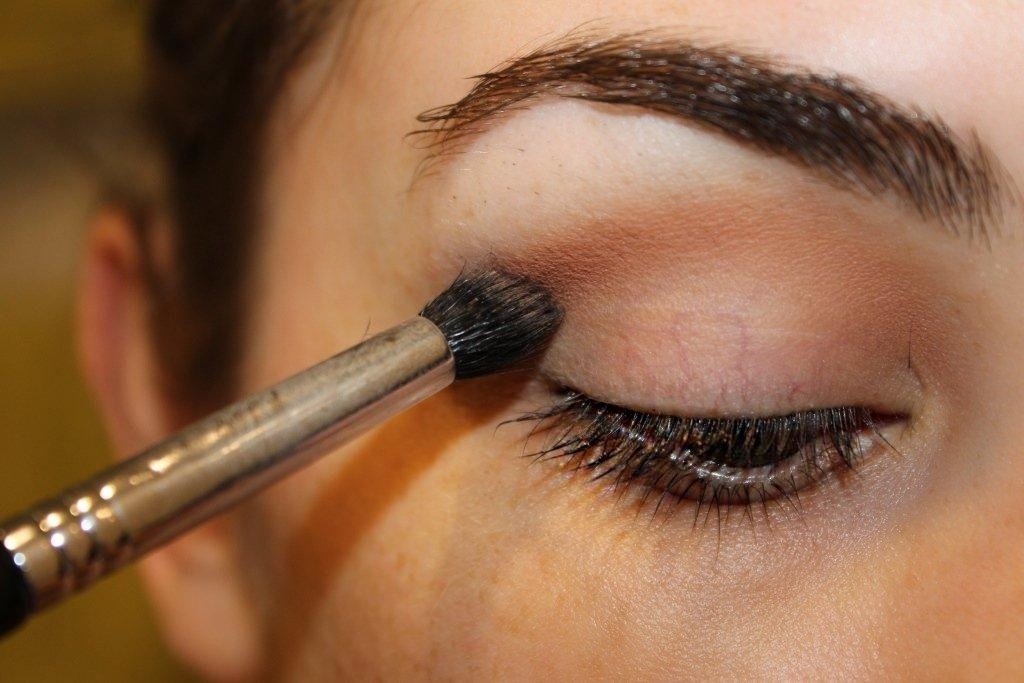
Time to really get to work – lets start with the eyes. As we want these to be our main feature of the whole look we want this to be a fairly strong white. You can use a few different things for this, a white eyeliner pencil or MAC’s Chrome Cake, or even white face paint – to mark out the eye areas and set them. I however wanted this look to remain soft and not too hard or stiff which can often happen when using face paint. I chose to use the Make Up Store’s High Tech Lighter in Stardust and place that all around and on my eyes – taking it down the centre of my nose and up above my brows and onto my forehead. As this is a creamy highligher I needed to set it – so I chose to use another Make Up Store product – their Microshadow in White.
… Step 3 …
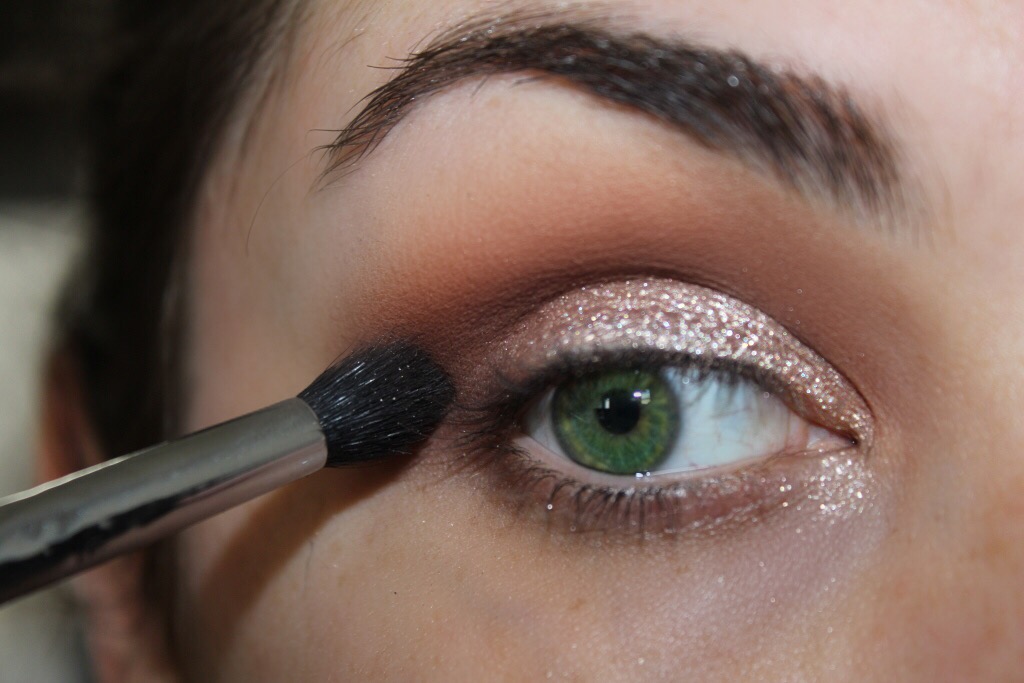
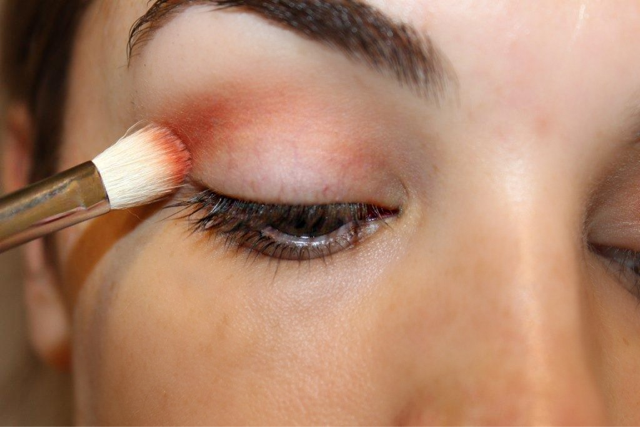
Now that the white outline is set, I want to define my cheeks and give them a darker look to help add some more dimension to my face. Taking Makeup Forever’s HD Foundation again but in a much darker shade I used my 130 Short Duo Fibre Brush by MAC to place and blend the foundation into my cheeks, just under my eyes and up onto the top of my forehead – and adding some more white on and blending the two so they transition nicely.
… Step 4 …
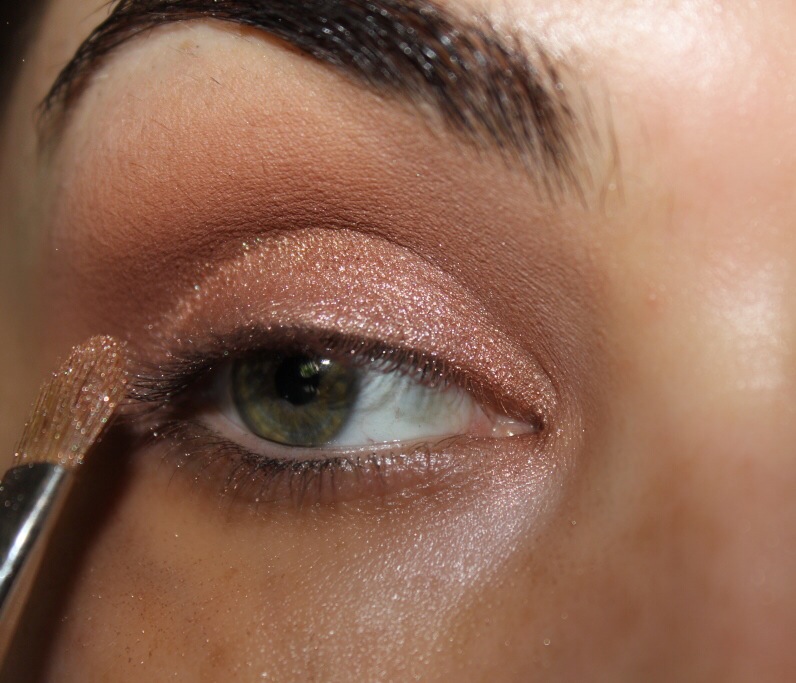
Once Im happy the darker shade and white are all blended nicely I then take some white face paint I have at home (you can get from any toy or craft store) and using the end of a round brush – small to medium size – and dip the end of it into the face pain and place the dots where I want them on my cheeks and forehead.
… Step 5 …
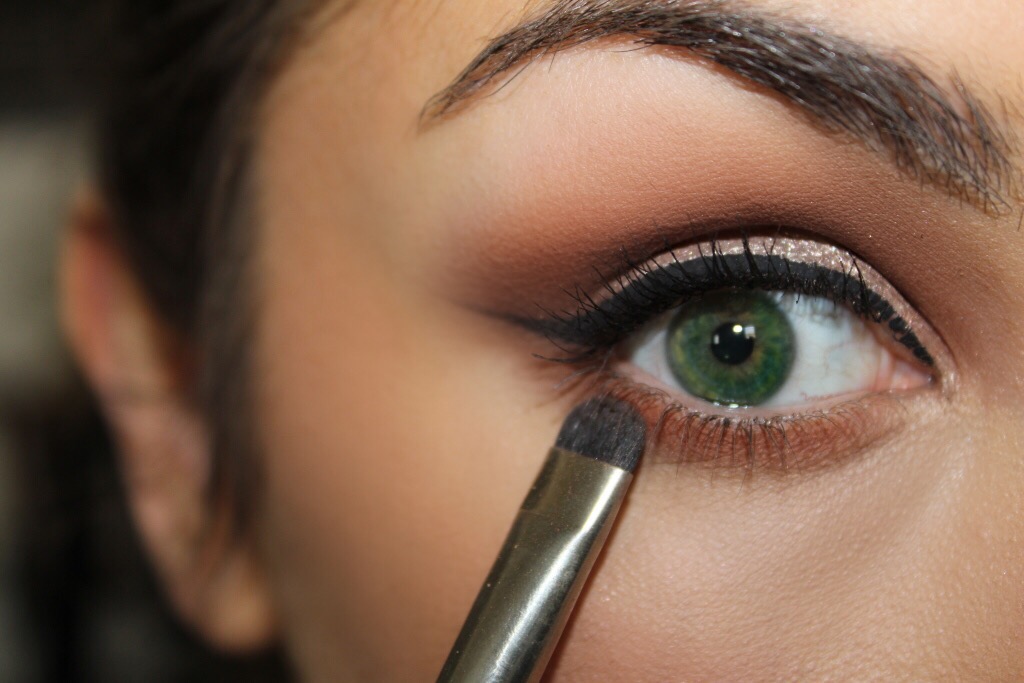
Taking my contour kit in medium by Sleek Makeup and my much beloved Nars Ita Brush (totes perfect for contouring) I contour my cheeks rather heavily adding further dimension to my face. I also add some shading down the sides of my nose, and under my jaw line and down my neck.
… Step 6 …
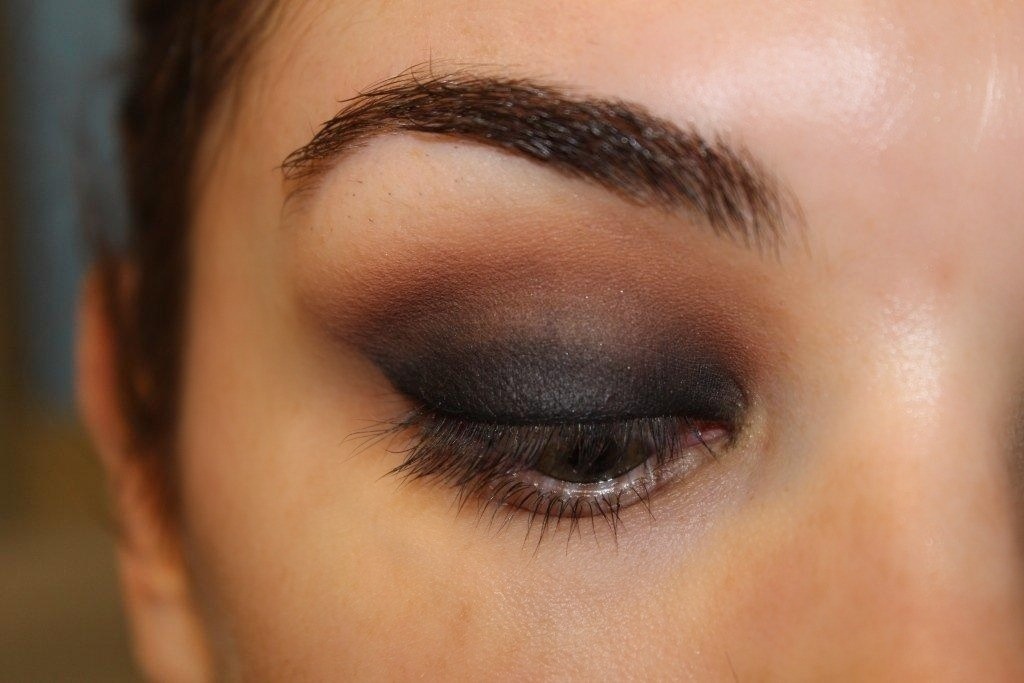
Here is where it got a little tricky/fiddley. Again you can use a couple of different mediums for this such as black face paint, black chrome cake, gel or liquid liner. I went for a combination using Maybelline’s Eye Studio Lasting Drama Gel Eyeliner going over that with Rimmel’s Gkan Eyes Liquid Liner. As you can see I outlined the sides of my nose and blacked in the end of my nose. I then joined the lines that ran down the sides of my nose into my brows and just coloured in my brows (I have thick brows as it is so didn’t do too much). The tricky part was doing the eyes, however if you take it bit by bit and slowly you can’t really get it wrong. First I would suggest lining your upper lash line with a thin line and taking it down further past your tear duct. Then draw in a new crease line above your eye with it slightly flicking out towards the end in an un-filled cat eye shape. To make the eyes appear large – draw a new lower lash line below your actual lower lash line.
… Step 7 …
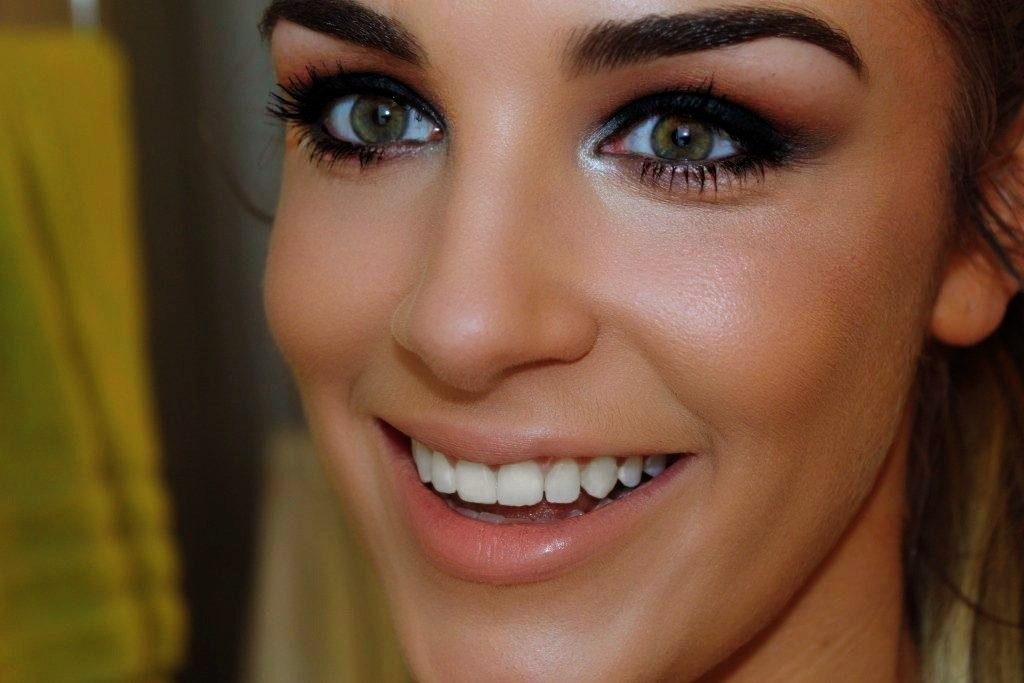
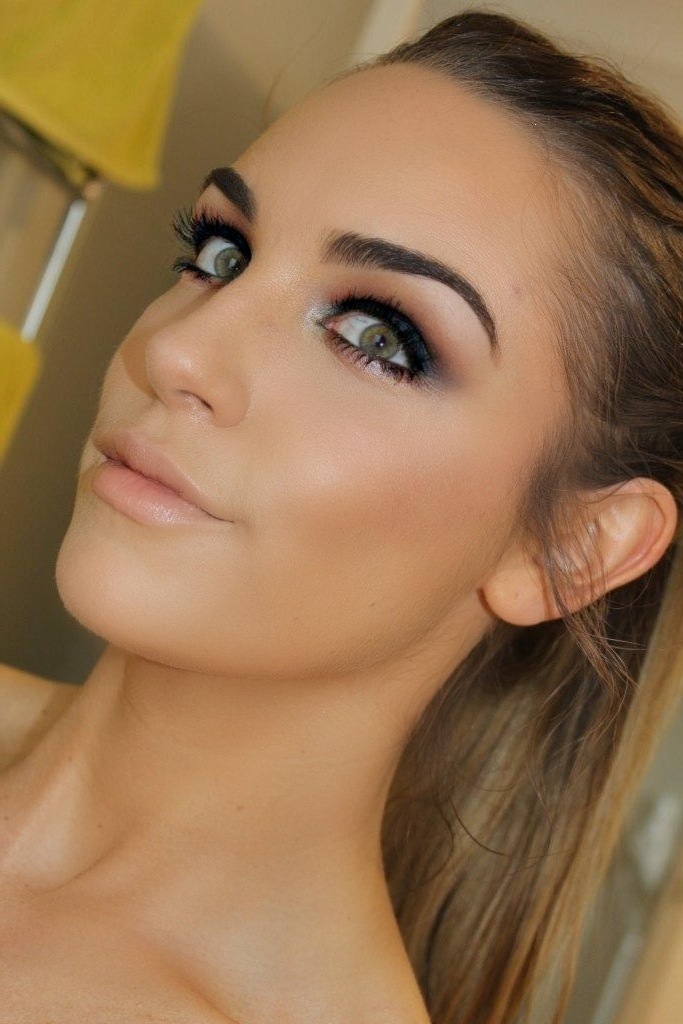
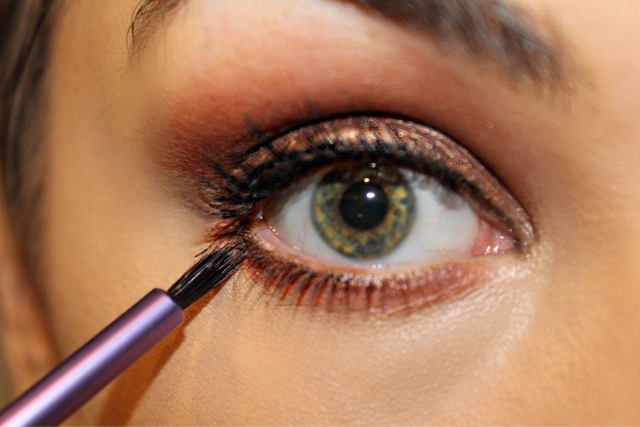
Now I apply a set of false lashes – any will do but I would definitely recommend using some soft fluttery ones to help give you a more wide-eyed look – then taking another set of false lashes (preferably the same as the ones you used on your lids) and place them along the top of the bottom line you drew underneath your eye. Make sure you turn them over so that when you apply them they sit nicely and flare out evenly. To finish up the eyes just give the upper lashes a quick coat of mascara to blend them in with your real lashes. I chose to go over again and sharpen up some of the lines with my liquid liner.
FINALE!
To finish off the look I chose to line my lips with a nude lip liner by Chanel in the colour no. 34 Natural (they are particularly amazing as they really hold your lip colour in place). Putting MAC’s lipstick in over the top and placing a little clear gloss over the top.
So as you can see it’s not 100% perfect but I don’t think it’s too bad for having to be ready in an hours time 🙂
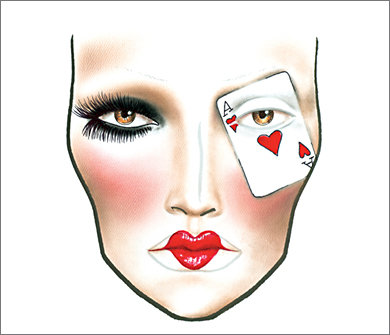
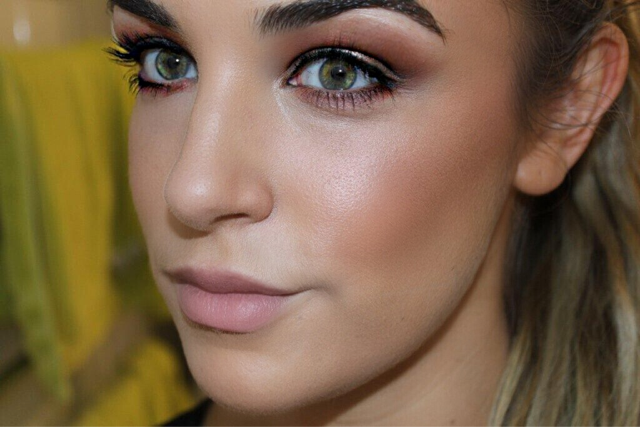
~ Ace of Hearts ~
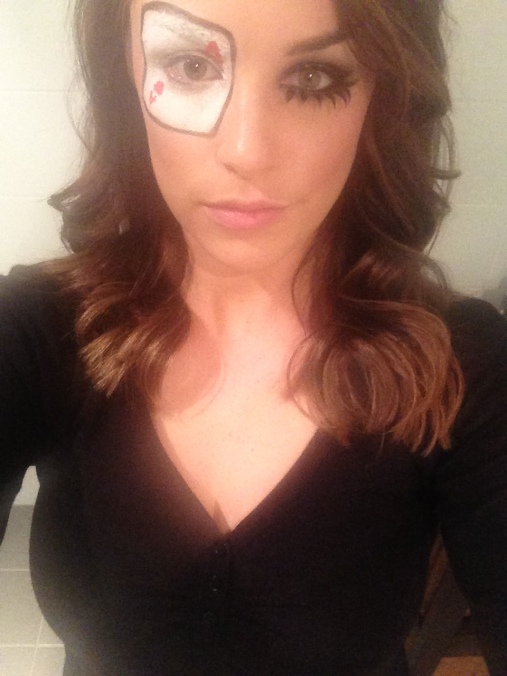
My friend had a 30th birthday and her theme was Red as she is a redhead – so I thought of what things were red that I would go as so I decided to go as the Ace of Hearts. I was inspired from a Halloween face chart from 2009 that MAC designed (see first picture below). So please check the pictures out below (excuse the poor quality as I took them on my iPhone in bad lighting :))
This look was surprisingly easy to create…. scroll down for the steps on how to get this look.
(without the red lips)


… Step 1 …
While I love my thick brows, unfortunately by no means can they be covered up with a little foundation or white paint. For this we need something a little more dense – to block out my eye brow I took a glue stick I had at home and went over my brow with it, then taking little chunks off the stick I patted it down over my brow to cover it completely. I then left this to set and to get nice and hard.
… Step 2 …
Once the eyebrow was set, I took a pan cake type foundation in a neutral colour from my Ben Nye Essential Matte Foundation Palette, I patted that over the top of the glue to blend it in with my skin. Then taking a transparent powder and just patting that over the top to help set the foundation.
… Step 3 …
Once that was dried, I primed my face by using my Embryolisse 24Hr Miracle Cream and applied Revlon Colorstay Whipped Foundation (in True Beige) mixed with MAC Strobe Cream using my Beauty Blender sponge.
… Step 4 …
To create the card I outlined the shape of the card using a white eyeliner pencil, then taking my High Tech Lighter in Stardust by The Makeup Store, I patted that down over my eye and over my eyebrow and filling out the rest of the shape of the card.
… Step 5 …
To set the high lighter I took a Microshadow in White by The Makeup Store which actually left me with a lovely pearly white colour instead of a flat white effect which is what I would have had if I’d used a face paint or something like that.
… Step 6 …
Taking my MAC Chrome Cake in Red I spritzed it with MAC Fix Plus spray took a brush (an old paint brush I had lying around. I would advise NOT using your good eyeliner brushes) and painted on the A’s and the hearts – top and bottom. Using the Black Chrome Cake and using the same spray I then outlined the whole card.
… Step 7 …
Moving over to my other eye I applied Bobbi Brown’s Metallic Long-Wear Cream Shadow in Starry Night all over my lid and blended it up into my crease. Taking a black shimmery shadow from my Coastal Scents 252 ulitmate palette I applied that over the top of the cream shadow to intensify the eye. Warming up my crease I used MACs Cork and applied my Goddess Mascara by Eye of Horus to my lashes
… Step 8 …
Taking a random pair of bold lashes I had by Model Rock Lashes (sorry they’re really old and I don’t think they make them anymore) I applied them to the one eye (top and bottom)
FINALE!
To finish off my look I contoured my cheeks using a dark cream foundation from my MAQ Pro from the 6 colour Fard Creme Foundation palette, and applied MAC’s Mineralize Blush in Warm Soul using MAC’s Soft and Gentle to highlight my cheekbone. Lips – I applied MAC’s Russian Red to my lips and voilà I was ready!
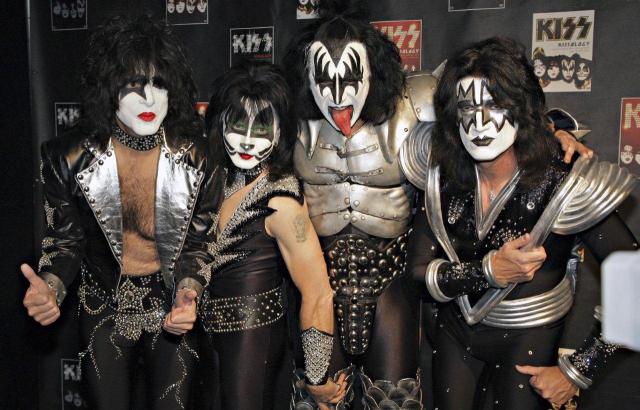
~ KISS ~
I was lucky enough to be asked by these guys to help transform them into KISS for their work Glamour Rock Christmas party. Below is the original band, KISS and after that is my recreation (again please excuse the poor quality as I took them on my iPhone in bad lighting :))
This look was easy but fiddley. There aren’t really too many steps except to copy the design onto the faces by looking and recreating it. The only products I used for this were:


That’s me in the middle – on my way to my Christmas party… don’t normally get that dressed up to work 🙂
So hopefully this gives you some inspiration for future fancy dress parties or if you just want to something a little different…


 While its not an overly complicated look, i think it has great impact mainly because of the gorgeous feature shade – I Heart This by ColourPop. So have a look and let me know what you think or if you give this a try at home.


